
Today this mini-book arrived at its recipient's home, so I though I'd post it right away. This was a great new project. Normally mini-books are full of photos of people, but I wanted this book to be full of beautiful colors and photos of nature -- for inspiration, instead of to document an event. I didn't take the photos, but I played in Photoshop (tweaking the lighting, or cropping them). Isn't Vermont gorgeous?!
Materials you'll need to put this together:
1. Acrylic pages, heavy cardstock, or chipboard pages (below) of varying shapes (with varied edges). I used a heavy clear acrylic for the front, back, & a middle page. Very sturdy. You can order these particular acrylic pages
here.

2. You'll need to cover the pages with paper (either cut the paper to size after tracing the chipboard page, or adhere, and then trim with an exacto knife - I did both). Of course, keep in mind which photos you'll use for each page - so that the papers compliment the photos.

3. To bind the pages, use a binding machine, or punch holes & clip with metal rings or ribbon. Below, you'll see my
Cropadile, which will punch through anything (even the heavy acrylic covers). Staples carries binder rings, but you can track down smaller sizes at scrapbook stores.
4. I also added glitter to the edges of a thick page, where the chipboard showed between the papered sides. Paint works, as well.

5. Final details -- I used
Thickers (love 'em!) for the title/cover letters and Hambly Screenprints rub-on owl & birds. The paper in this book is mostly Basic Grey, Hambly, and my favorite Sasafrass paper (orange birds). The edges of some paper, I inked. And I printed out quotes on Basic Grey paper, cut them out & used a glue-stick to adhere.
Here are the inside pages of the mini-book (I love this first gorgeous tree):


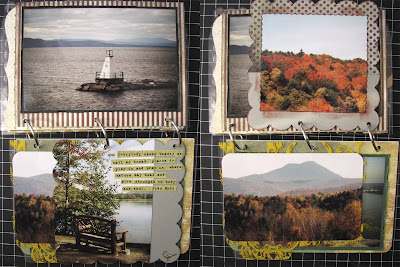

These are two of my favorite pages:


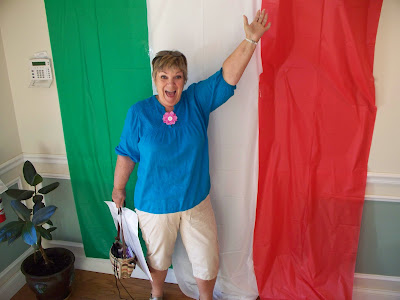 Mom in Italia, 6/18/10.
 Chris & I drug mom all over the place - to some of our favorite spots and even to a new one. She cheered on Chris at his softball game (below) and watched movies with us late into the night. As far as visitors go, Mom is incredibly easy and I love that she can chill out in our Providence-pad.
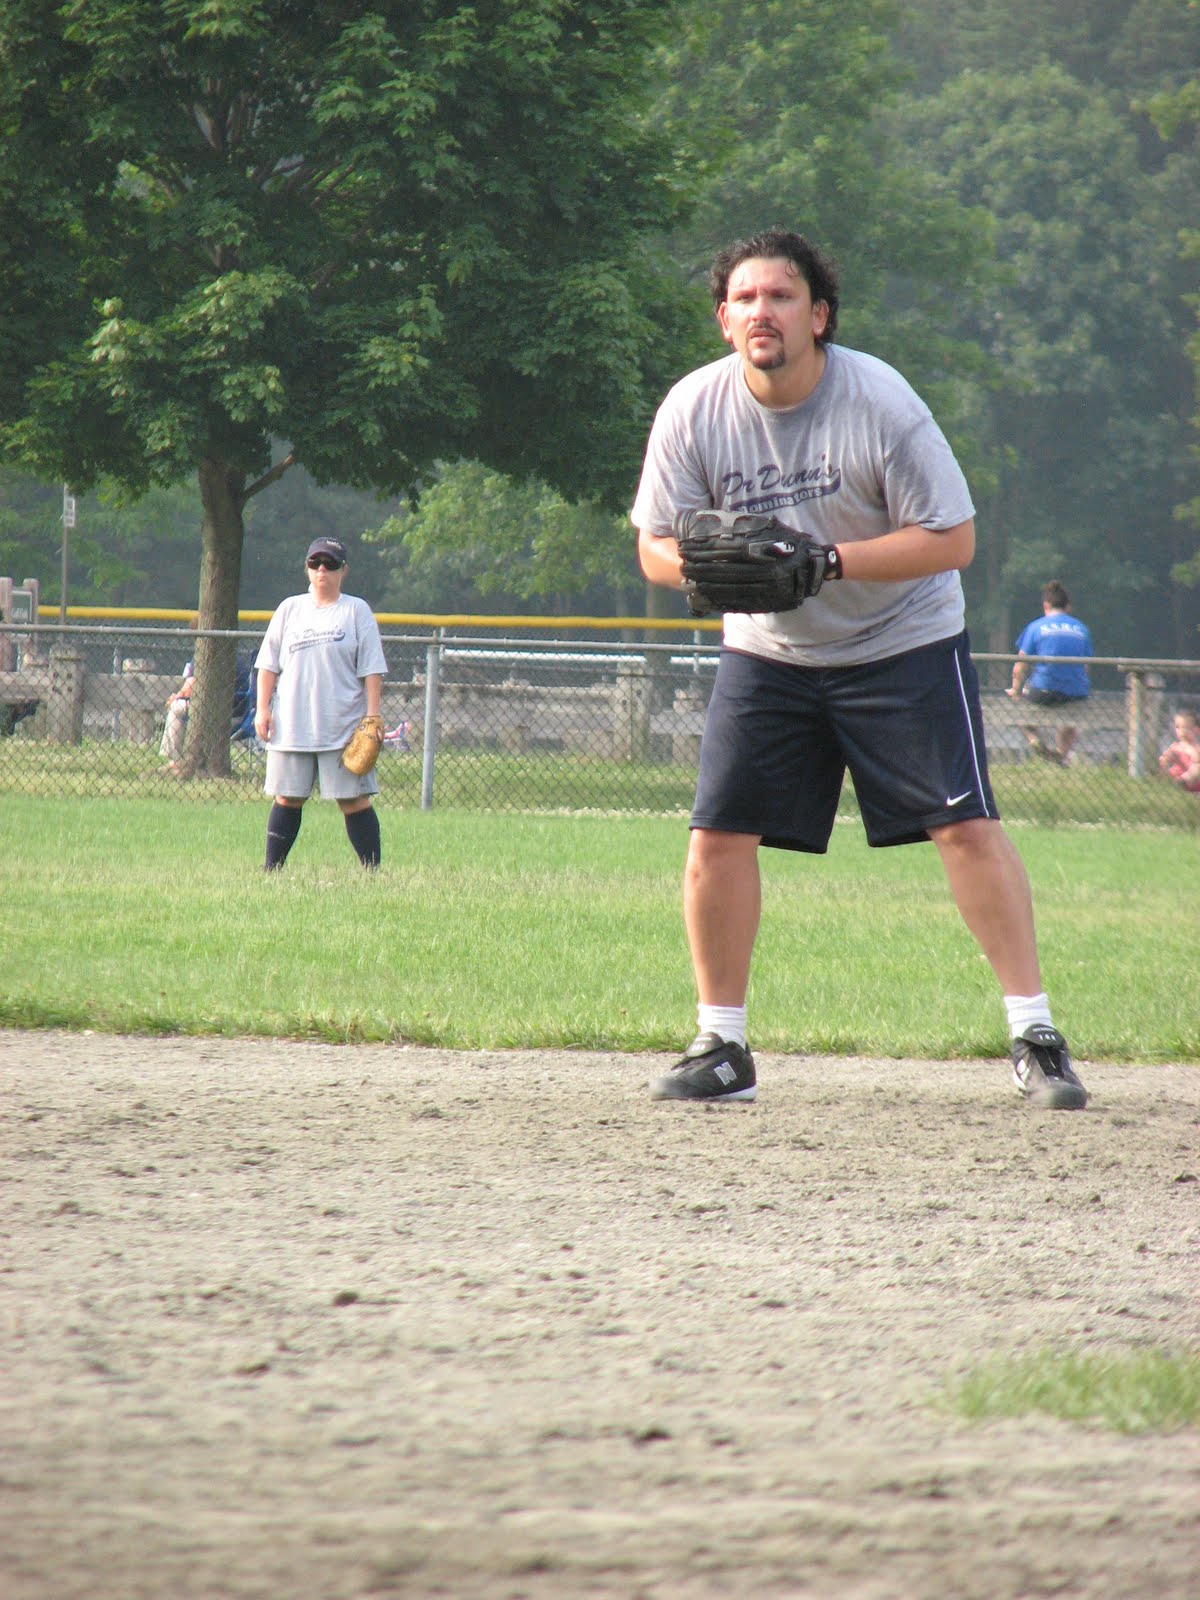 6/19/10.
 6/19/10.


 Scrapbook page on the top played songs on my ipod (their artists). I'm such a pop music junkie.

 A scrapbook page from last month (photo date: 10/3/08)...it's 1-page/month these days.


